Budget Tracker Website
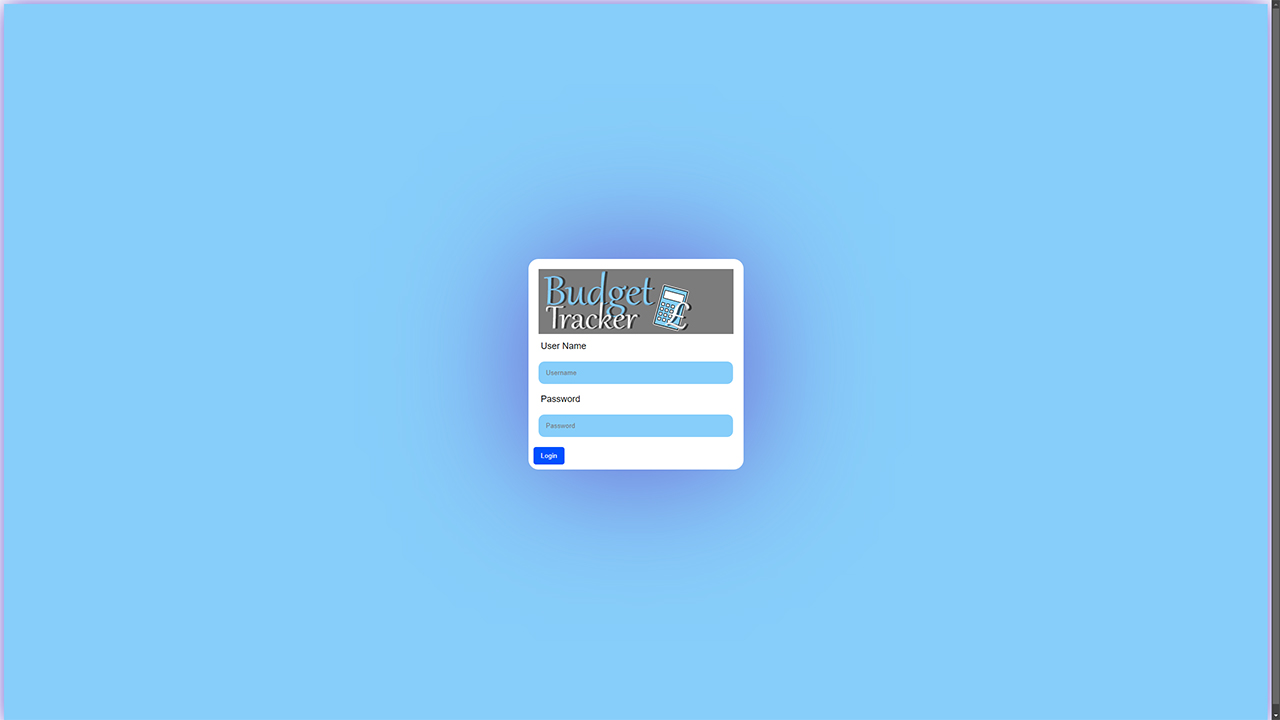
All users are required to login to the website and their login details must match the corresponding username and password saved in the database, else they cannot navigate to any other webpage.
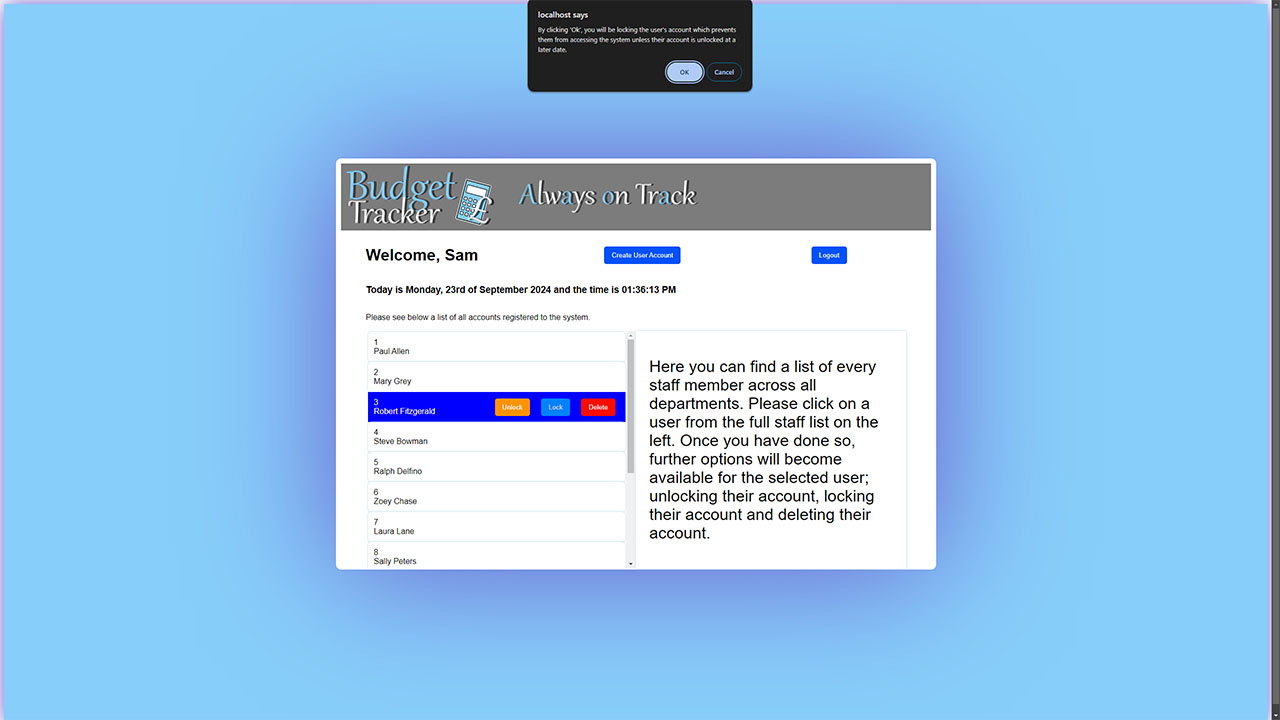
When logged in, the administrators are redirected to their dashboard which displays a list of all registered user accounts and allows them to take any required action on a selected account.
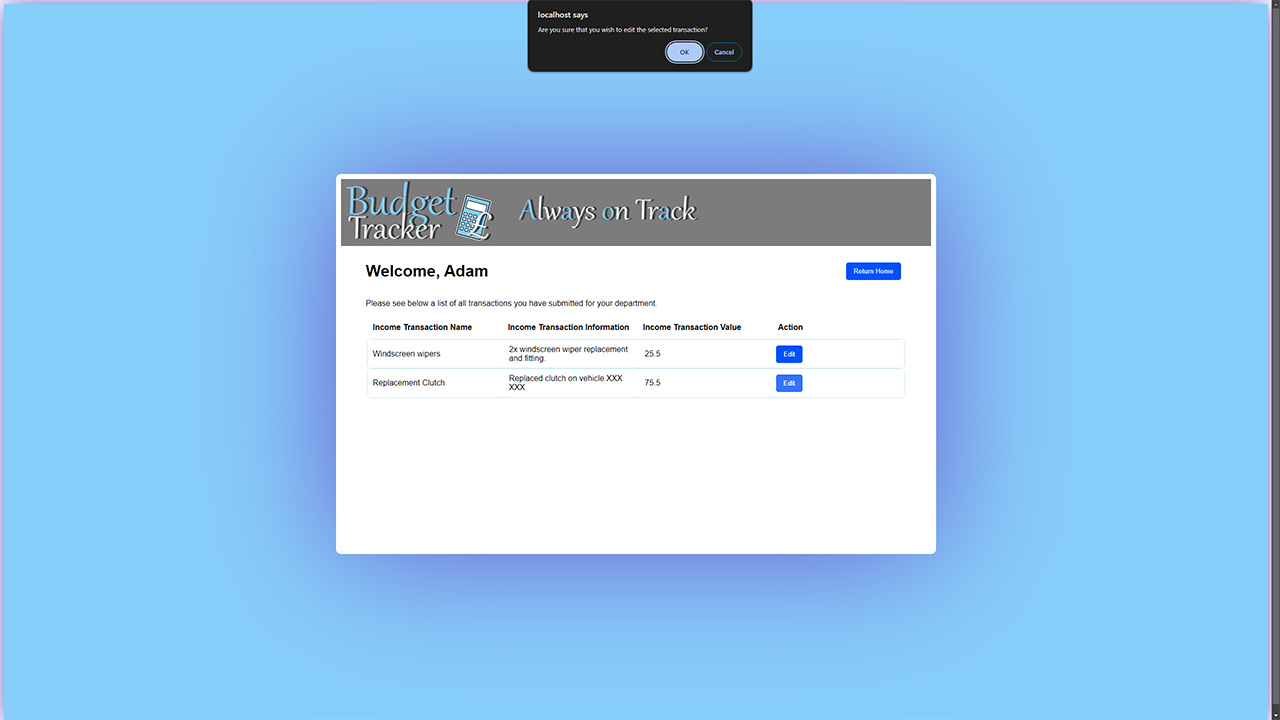
Managers and Employees are able to navigate to a page which lists their submitted transactions and from that page they are able to edit a transaction which replaces the information in the database.
During the second semester of our first year, we were tasked with choosing from a list of pre-determined projects and developing the project individually. I chose the Budget Tracker project, and determined that it'd be most suited as a website rather than an executable program. I created the website using PHP pages as opposed to HTML, so that I could incorporate the advanced features possible with PHP such as the ability to 'include' a PHP file, preventing messy code and also starting sessions and saving and processing user input on pages.
The Budget Tracker website heavily relied on an integrated database as all pages within the website required access to the database in order to save data to it or pull data from it. The database was made in MySQL and had the following tables:
- budget; budget_id (int), name (varchar), value (float)
- department; department_id (int), budget_id (int), net_inc_id (int), name (varchar), address_1 (varchar), address_2 (varchar), postcode (varchar)
- expense_transaction; expense_id (int), user_id (int), name (varchar), info (varchar), value (float)
- income_transaction; income_id (int), user_id (int), name (varchar), info (varchar), value (float)
- net_income; net_inc_id (int), name (varchar), value (float)
- user; user_id (int), department_id (int), first_name (varchar), surname (varchar), dob (date), email (varchar), employee_type (int), locked (tinyint), username (varchar), password (varchar)
The website's landing page was a login page, whereby users are required to login to the website. User's would be shown the relevant error message if they attempted to login with incorrect details (such as entering the wrong password or entering an unrecognised username), and users cannot force a restricted page open as they are instantly redirected to the login page if they are not correctly logged in. In the interest of the system's security and data protection, the user's input password was not saved directly to the table in the database as plaintext, instead it is first passed through the '$password_hash' function to save the hashed and salted version to the database.
The system had three user account types; Administrators, Managers and Employees.
- Administrators were able to view a list of all registered users and could then select an account from the list and take action on the selected account; they could lock an account which prevents login/access to the system, unlock an account which has been locked, delete an account from the system or create a brand new user account.
- Managers were shown a list of all employees under their department and clicking on an employee would show a list of all of that employee's submitted expenditure transactions. They were also able to set the budget value for their department and submit income transactions for their department, also being able to edit or delete their existing submitted transactions.
- Employees were able to submit expenditure transactions for their department, being able to edit or delete their existing submitted transactions.
'Cantor College' Website
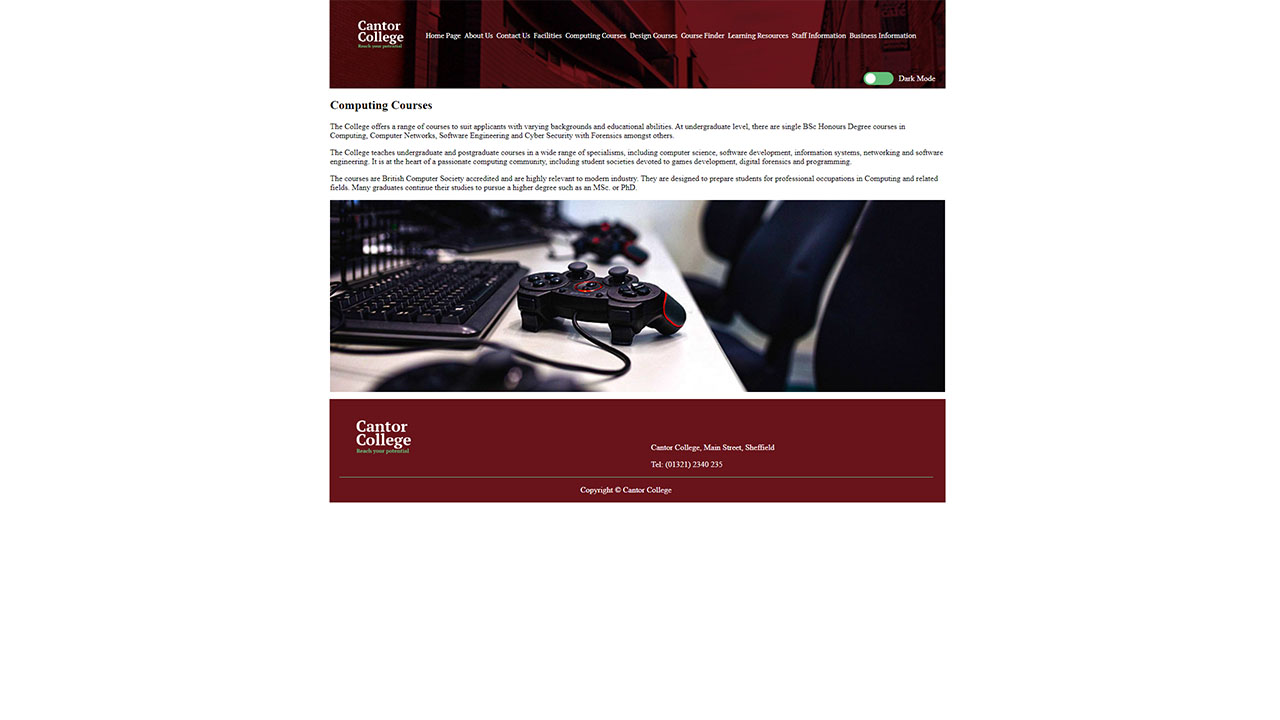
The website was designed to look 'clean' and easily legible on a desktop web browser, with the contents of the page being centered in the middle by making use of margin:auto
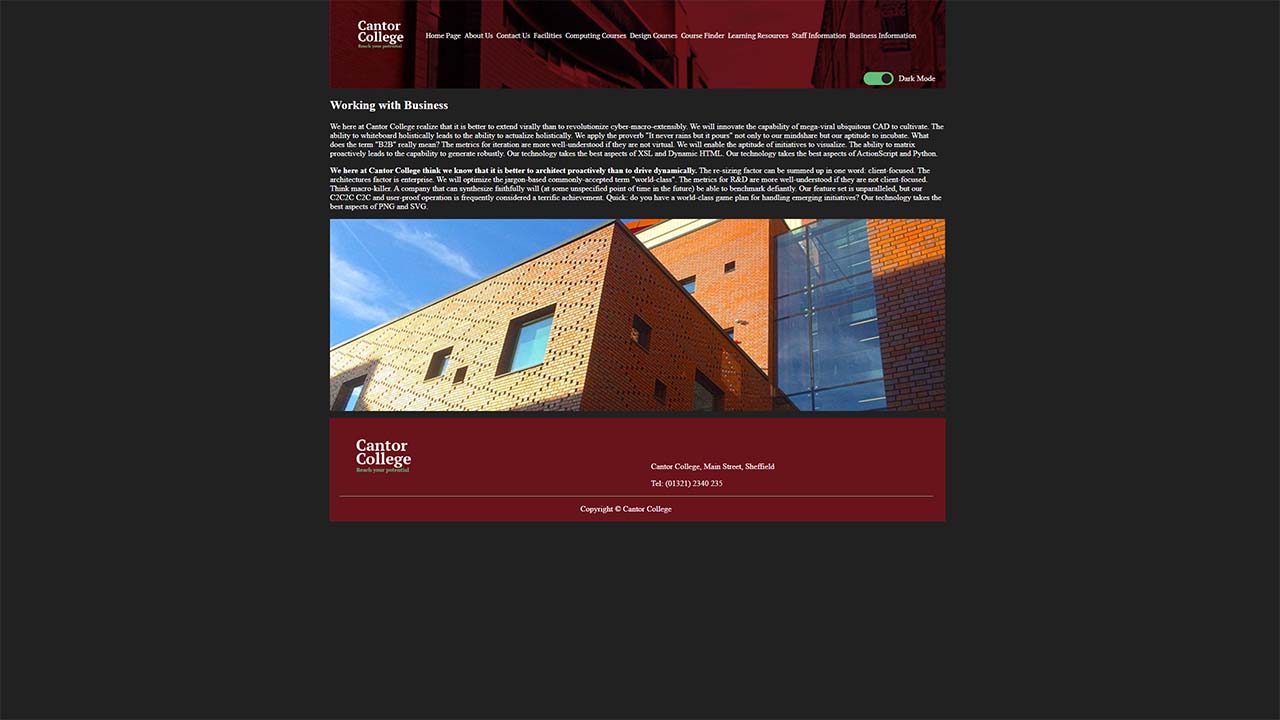
The user can toggle a 'dark mode' feature off or on which turns the body's background to a dark colour or back to standard white, using JavaScript functions to toggle the class assigned to the 'body' of the page.
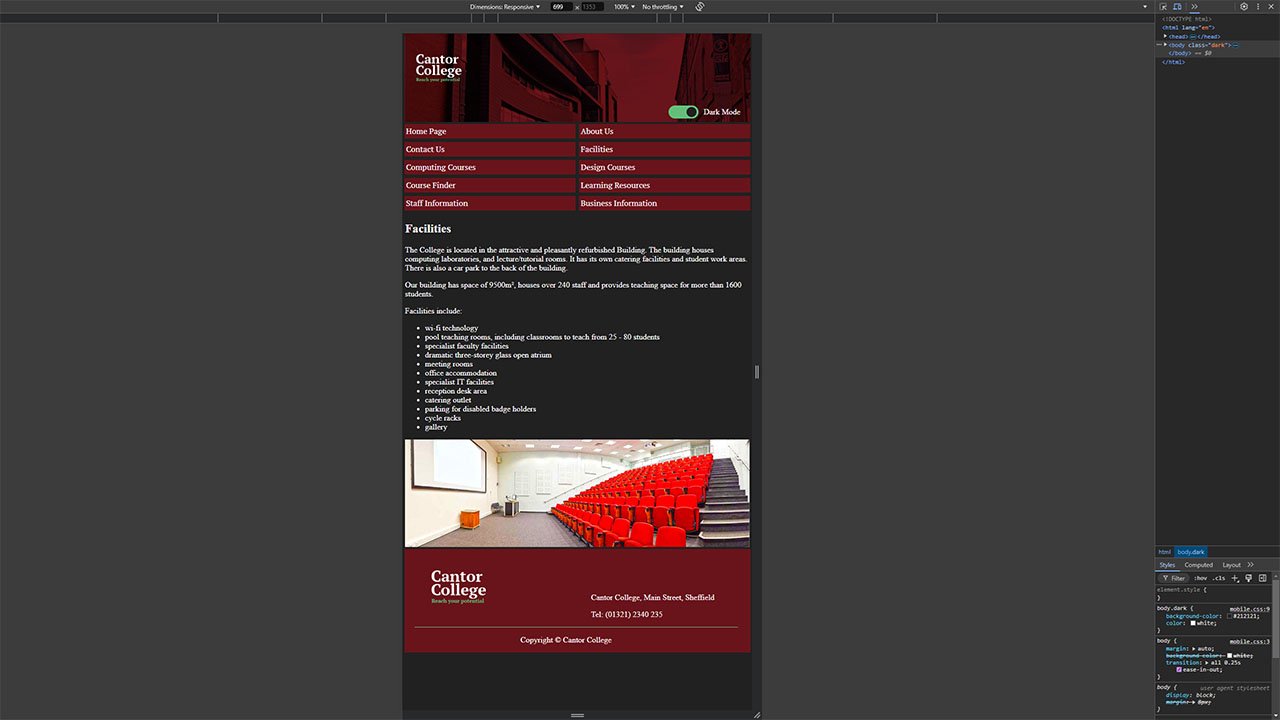
The website was developed with a "Mobile First" design; the layout/structure of the website was initially designed to be comfortable on a mobile device before focusing on the desktop version.
The fictional 'Cantor College' website was the first time I had dived into web-development, outside of playing around with online webpage creators and was a task for the web-development module in our first year. As a newcomer to web development, I had to learn the basics of HTML, CSS, PHP and JavaScript while simultaneously working on the website.
This website did not require any logins/accounts as anyone who visited the site was able to view it in it's full capacity. The website required us to pull pre-determined information from a database for the 'course finder' page which allowed the user to view all courses offered by the college as well as filter the results. I was able to implement this with MySQL via phpMyAdmin and pulling the information from the database's table through onto the webpage with PHP.
Rose Mortgage System Website
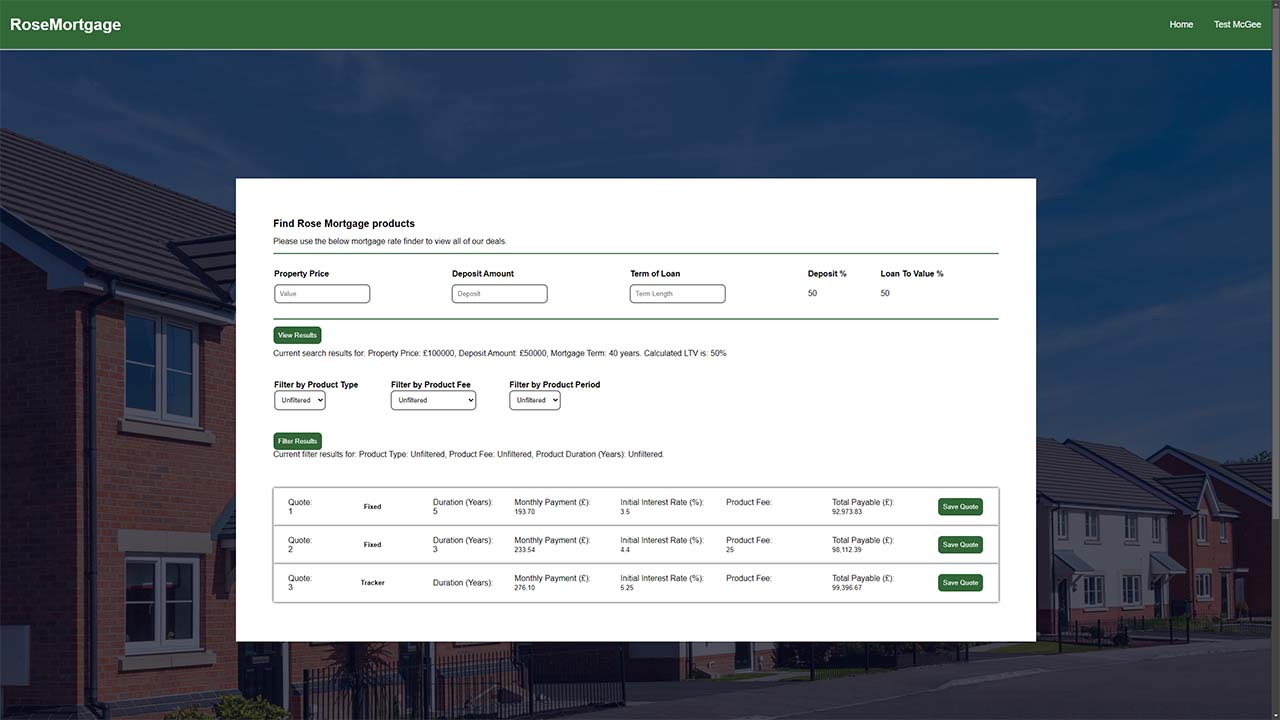
The user is able to view a list of any suitable products by entering their mortgage details and the page will refresh with the relevant product results.
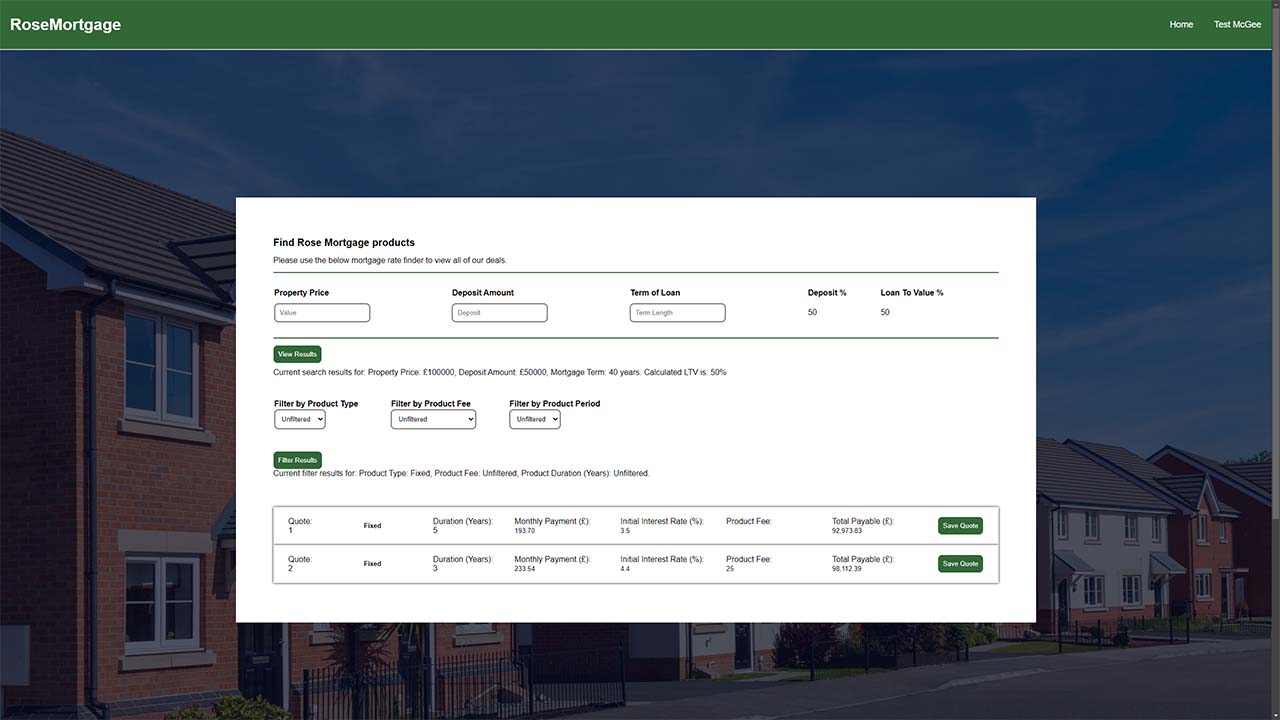
The user can apply a filter to the results, in this case they wanted to search for purely "Fixed" product types.
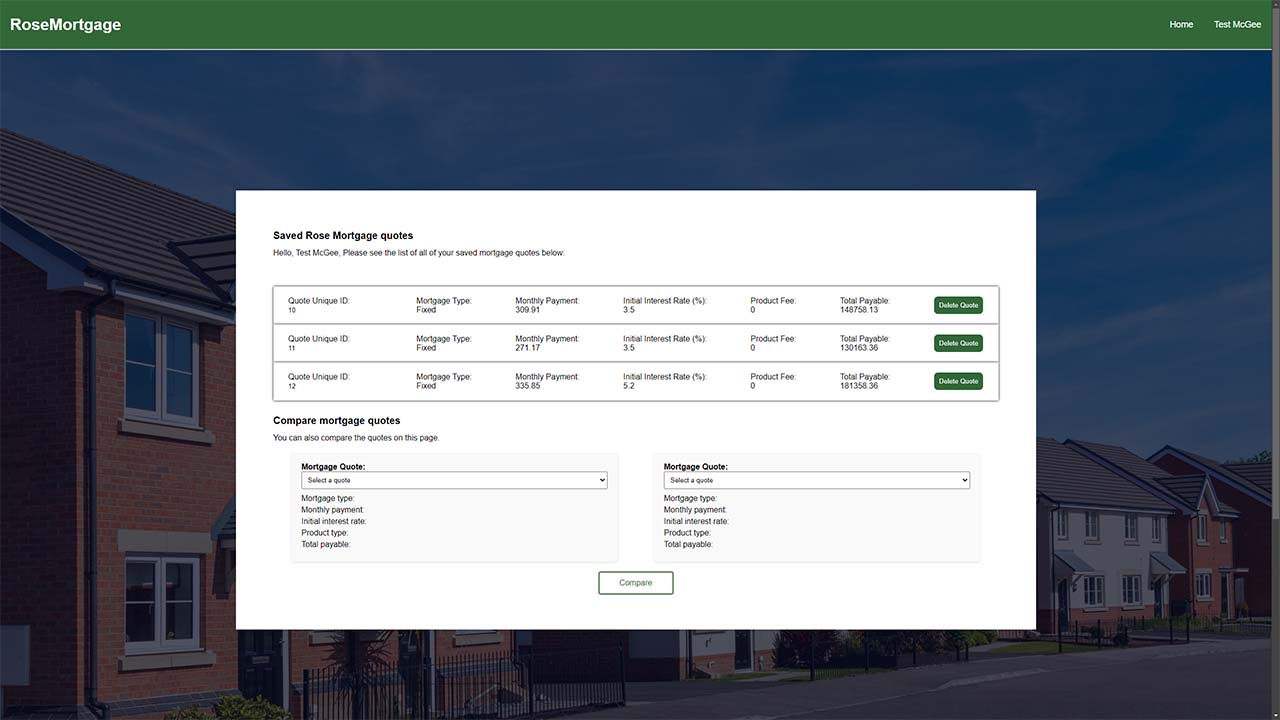
The user is able to navigate to their 'Saved Quotes' page which shows the user the details of any product results they had chosen to save as a quote.
Following the task of creating the budget tracker project, we were informed that we would be working together as a team to develop a project and I was excited for the opportunity to work collaboratively for the first time as part of our university course. We were individually asked to select our preference from a list of projects and we were then randomly assigned into groups based off our choices. I was assigned to a group to work on a fictional mortgage system website named 'Rose Mortgage' - the information in this section refers only to the parts of the system which I worked on.
The Rose Mortgage System website required an integrated database on the back-end, with most pages pulling data from or saving to the database. The database was made in MySQL and had the following tables:
- products; product_id (int), interest_rate (float), mortgage_term (int), lender (varchar), ltv (float), product_type (varchar), initial_period (int), product_fee (float)
- quotes; quote_id (int), user_id (int), mortgage_type (varchar), monthly_payment (decimal), interest_rate (float), product_fee (float), total_payable (decimal)
- users; user_id (int), first_name (varchar), middle_name (varchar), surname (varchar), email_address (text), dob (date), postcode (char), password (varchar), contact_number (char)
My responsibility was implementing the ability for logged in users (customers) to use the search engine I'd created to view a list of applicable mortgage products based off the information which they enter on the page. The user would enter the price of the property they wish to mortgage, their deposit amount and their target loan term and the page would refresh with the relevant products which match those input values. The user would then be able to filter the results further by only showing products which meet their preference such as ones which are Fixed or Tracker interest rate, if they have a Product Fee attached and finally how many years the product is for.
Once the user has searched for applicable products (and applied any filters), they are able to save any of the resulting products as a quote, allowing the user to access their Saved Quotes page which shows all of their saved quotes. Any quotes which have been selected to be saved by the user are saved to the database by pulling relevant information from the resulting product (from products table) and adding it to the quotes table against their user_id.
Windows Form Application Game
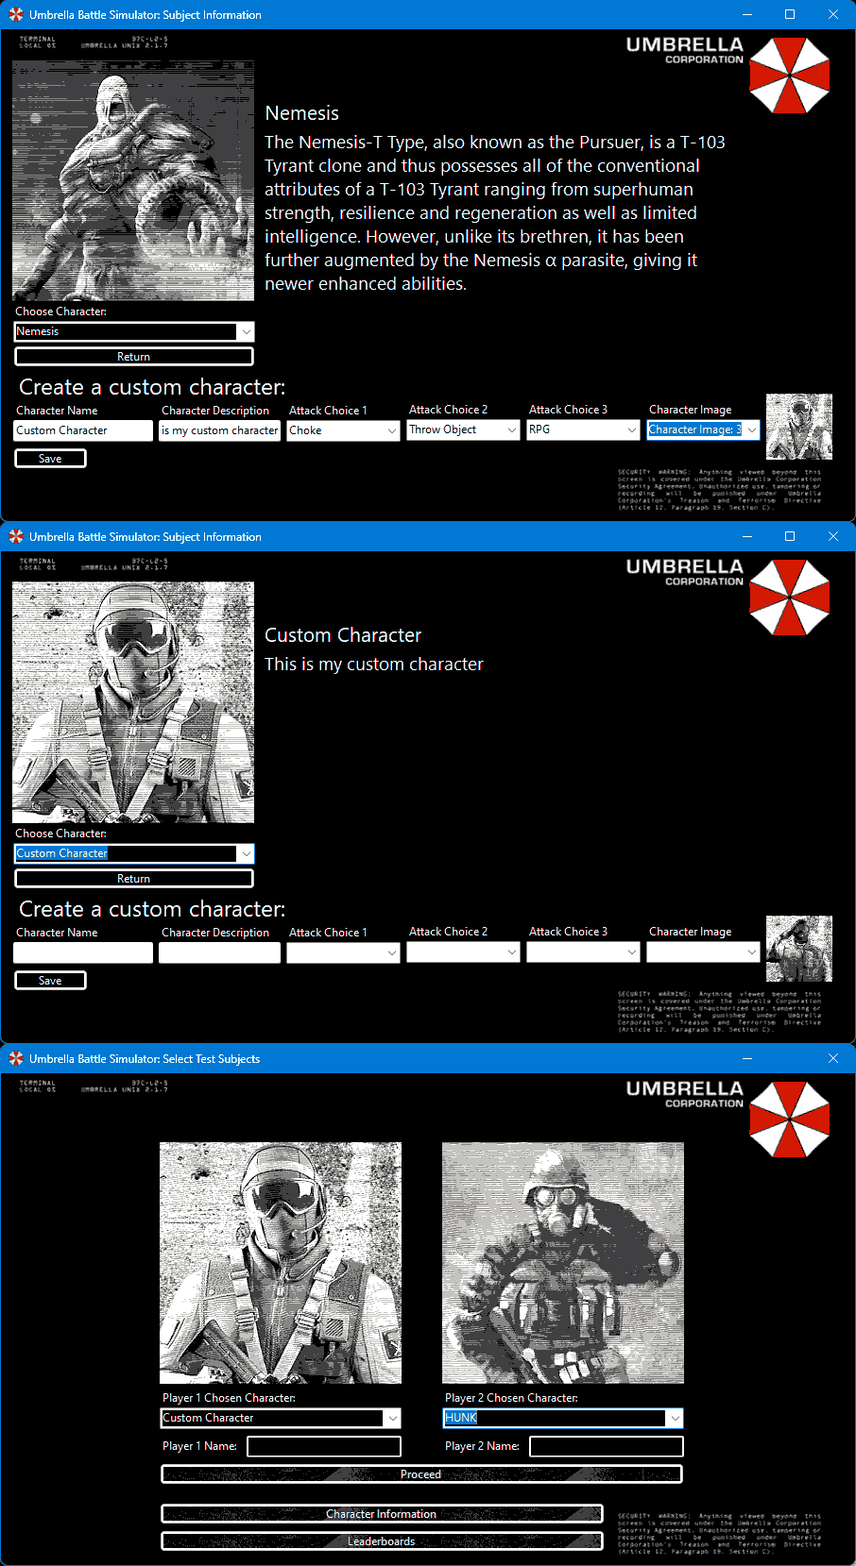
Players can create their own character using a selection of pre-set avatars/character images and a mixture of any combat moves that are already assigned to the default list of characters.
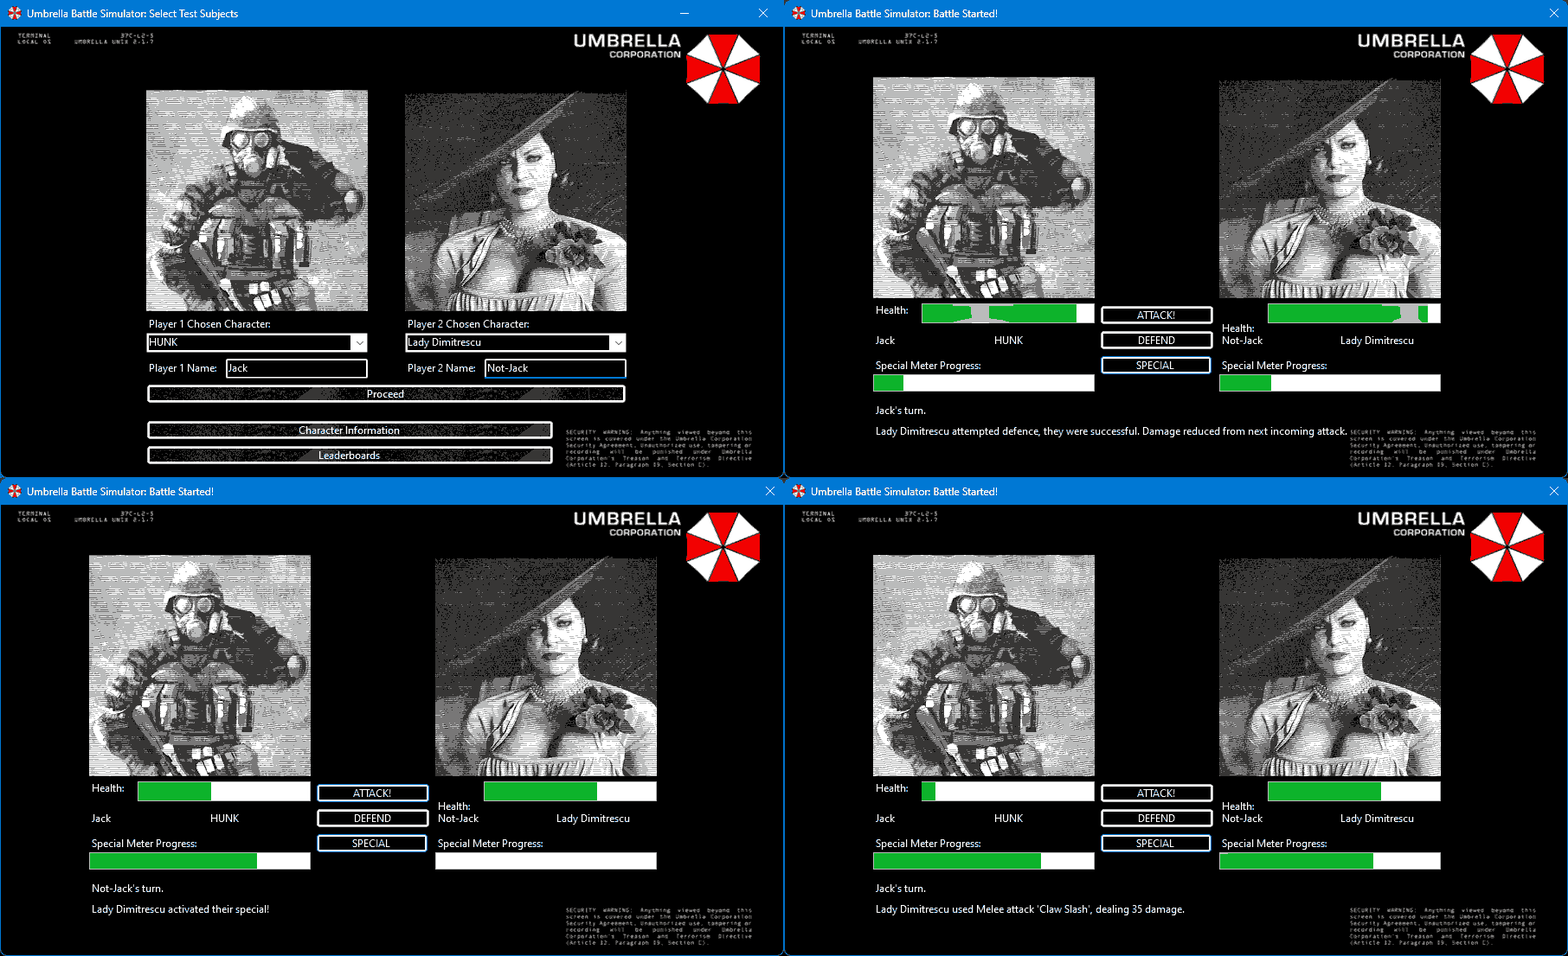
Players are able to use a special move during combat, which multiplies the damage of their next attack, but first the player must max-out their special meter by dealing damage to their opponent.
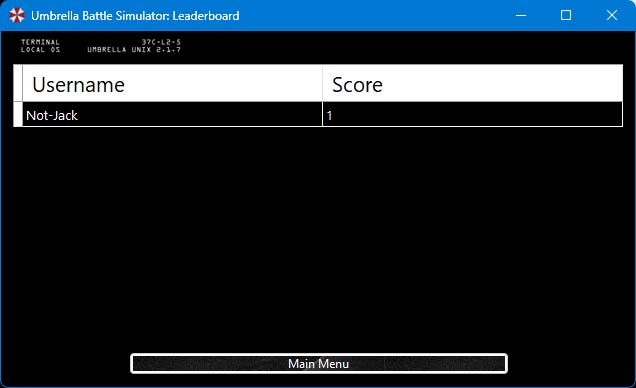
There is a leaderboard which shows the names of any player who has won before and how many times they've won.
In our first year of study with the university, we were taught the basics of the C# programming language. After learning for a short while, we were tasked with creating a program written in C#. We were able to create any project we imagined, with the only restriction being that it must be either a Console Application or a Windows Forms application. The grading for the module was based on implementing the topics we have been taught and also the appearance of the program. As such, I chose to develop a WinForms application.
Prior to this project, I had made some minor WinForms applications in my free time which were purely for my learning or to experiment with but this was the first time I had to commit to making a fully-developed WinForms application. I came up with the idea of having a 'battle simulator' whereby two people would have to play locally against each other, effectively turning this WinForms application into a video game based on the Resident Evil video game series. Players could select from preset in-game characters or create their own using available built-in avatars images and a custom combination of the existing character's moves to create a custom moveset. There's a section within the application which allows players to read information about the characters featured within the game.
Both players need to enter their names and select their chosen character before they can progress to the battle screen. On the battle screen, the first player is shown on the left-hand side and the second player is on the right-hand side. The UI shows the image of both chosen characters and their health bar(s) underneath, represented by a Windows Progress Bar. Player 1 takes control first, and has the option to either Attack, Defend or use Special, though the only logical move at the start is to use Attack. After making a move, the control should be passed to the second player who can then make their move. It will continue in this loop until one of the character's health bars is fully depleted, granting victory to the player who dealt the final-blow, after which the leaderboard screen will be shown. The options players have when playing a battle are:
- Attack which has their character randomly choose from their three assigned attack moves (each one deals different base damage), and attempt to deal damage to the enemy player's character.
- Defend which has their character attempt to defend themselves against the enemy's next turn. If successful, they will take reduced damage if attacked on the next player's turn. There's a smaller chance that this attempt will fail, which leaves the character who attempted Defend to be open to an attack with no chance of negating the damage.
- Special which has their character activate their special bonus, which should then be followed-up with an Attack. The character will deal multiplied damage against the opponent but their Special Meter progress will be reset to 0. Players cannot use this option until they've filled their Special Meter, which itself is only gradually filled by dealing damage to the enemy player's character, based off the damage values applied to the enemy character.


